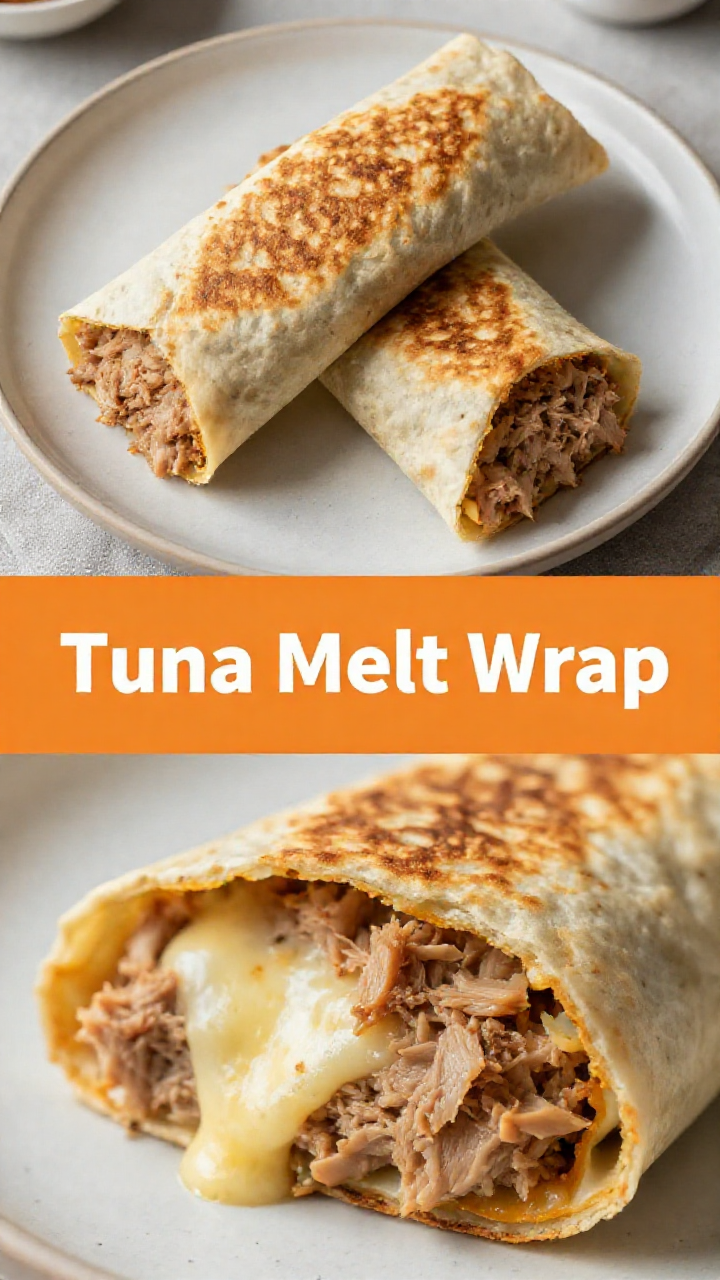
Hey everyone, Julian here! Let’s talk about lunch. Specifically, a lunch that’s quick, healthy, and seriously satisfying: the Healthy Tuna Melt Wrap. Forget sad desk lunches; this recipe is a game-changer. We’re talking a flavor explosion wrapped up (literally!) in a convenient, portable package. This isn’t your average tuna melt; we’re upgrading it with fresh ingredients and a few clever twists to maximize both taste and nutrition. Consider this your new go-to for busy weekdays, post-workout fuel, or any time you need a delicious and nutritious meal in minutes. Let’s dive in!
Why You’ll Love This Tuna Melt Wrap
Okay, so why should you make this tuna melt wrap? Let’s break it down. The data on this is amazing – from the protein punch to the healthy fats, this wrap is a winner.
- **Speed & Simplicity**: Ready in just 10 minutes. Seriously, 10 minutes!
- **Nutrient-Packed**: Packed with protein, healthy fats, and essential nutrients.
- **Flavor Bomb**: A delicious combination of creamy, tangy, and savory flavors.
- **Customizable**: Easily adaptable to your preferences and dietary needs.
- **Portable Perfection**: Perfect for on-the-go lunches or quick snacks.
I hope you love it as much as I do. This recipe is designed to be your new favorite. If you want a quick, healthy, and delicious lunch, then this is it.
The Star Ingredients
Let’s geek out on the ingredients! Here’s what you’ll need to make this amazing tuna melt wrap. We’ll also touch on why each ingredient is a nutritional powerhouse.
- **Tuna (Skipjack or Yellowfin)**: The base of our protein-packed wrap. Skipjack is a more sustainable option, while yellowfin offers a richer flavor. When choosing tuna, be mindful of mercury levels (more on that later!).
- **Greek Yogurt**: Adds creaminess and a protein boost, while keeping things lighter than mayo.
- **Dijon Mustard**: Provides a tangy kick that complements the tuna perfectly. You can use regular mustard if you don’t have dijon.
- **Lemon Juice**: Brightens up the flavors and adds a dose of vitamin C.
- **Corn**: Adds a touch of sweetness and fiber.
- **Red Onion**: Provides a sharp, pungent flavor and antioxidants.
- **Dill Relish (or Capers)**: Adds a briny, herby flavor that elevates the tuna.
- **Garlic Powder**: Enhances the savory notes of the wrap.
- **Black Pepper**: Adds a touch of spice.
- **Shredded Mozzarella Cheese**: Melts beautifully and adds a creamy, comforting element. Feel free to use your favorite cheese!
- **Burrito-Sized Wrap**: The vessel for our delicious creation. Make sure it’s large enough to hold all the fillings.
Here’s the full list of ingredients for the recipe card:
- 1 can skipjack tuna, 5 oz (or yellowfin)
- 2 Tbsp greek yogurt
- ½ Tbsp dijon mustard (or regular mustard)
- ½ lemon, juice of ((about 1 Tbsp))
- ¼ cup corn
- ¼ cup red onion, diced (about 1/4 of a red onion)
- 1 Tbsp dill relish (or capers)
- ½ tsp garlic powder
- ¼ tsp black pepper
- ¼ cup shredded mozzarella cheese (or cheese of choice)
- 1 wrap, at least 10 inches in size (burrito sized)
Step-by-Step Instructions: Let’s Make This Tuna Melt Wrap!
Alright, let’s get cooking! Follow these simple steps to create your own healthy tuna melt wrap:
- **Prep the Tuna Mixture**: Drain the tuna thoroughly. In a medium bowl, combine the drained tuna with Greek yogurt, Dijon mustard, lemon juice, corn, red onion, relish, garlic powder, and black pepper. Mix well until everything is evenly combined.
- **Warm the Wrap**: To make the wrap more pliable and prevent it from cracking, cover it with a damp paper towel and microwave for 10-20 seconds. This is a game-changer!
- **Assemble the Wrap**: Place the warmed wrap on a clean working surface. Sprinkle a layer of shredded cheese on the end of the wrap closest to you, leaving about an inch of space on the sides and bottom edge. Top the cheese with the tuna mixture, spreading it evenly.
- **Wrap It Up**: Fold the sides of the tortilla toward the middle. Then, fold the bottom of the tortilla up and over the filling, tucking the edges of the wrap under. Roll the tortilla away from you to the edge, creating a tight and secure wrap.
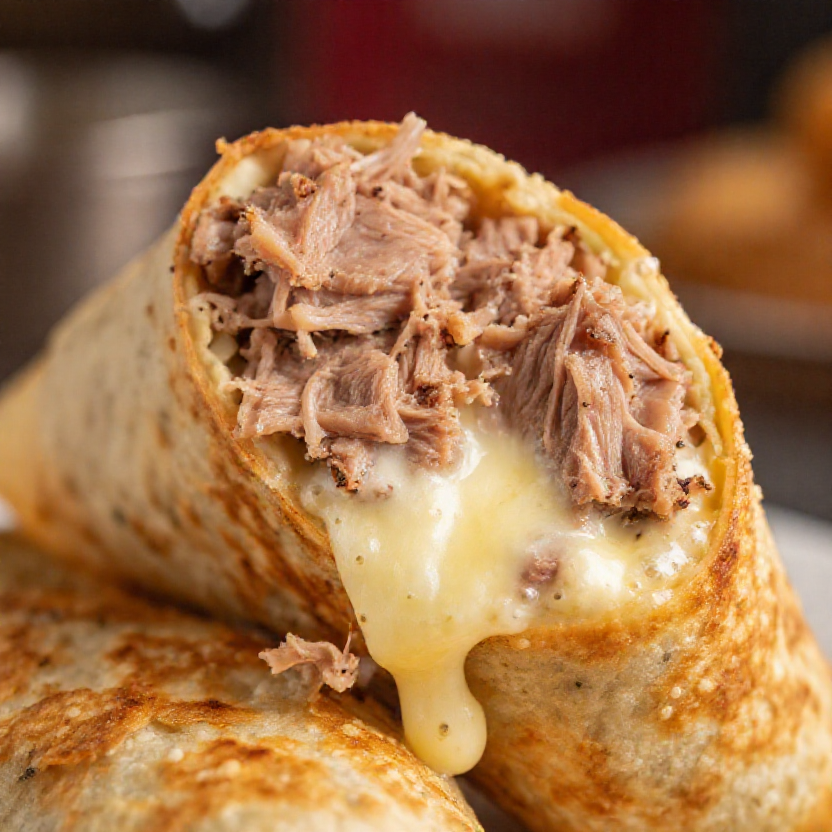
- **Grill to Perfection**: Heat a skillet or grill pan on medium heat and add a bit of olive oil. Place the wrap on the hot grill pan or skillet, seam side down. Let it heat for about 3-4 minutes, gently pressing on it a couple of times while it heats. Flip the wrap and heat another 2-3 minutes, or until golden brown and the cheese is melted and gooey. If it’s cooking too quickly, lower the heat to medium-low.
- **Serve and Enjoy**: Remove the tuna melt wrap from the skillet and let it cool slightly before slicing in half and serving. Enjoy your delicious and healthy tuna melt wrap!
Pro Tips for the Perfect Tuna Melt Wrap
Want to take your tuna melt wrap to the next level? Here are a few pro tips:
- **Don’t Overfill**: Overfilling the wrap can make it difficult to roll and prone to bursting.
- **Warm the Wrap**: Warming the wrap is crucial for pliability and prevents cracking.
- **Press Gently While Grilling**: Pressing the wrap gently while grilling helps it to brown evenly and seals the edges.
- **Use a Good Quality Cheese**: A good quality cheese will melt better and add more flavor.
- **Experiment with Flavors**: Don’t be afraid to experiment with different flavors and ingredients to create your own signature tuna melt wrap.
Common Mistakes to Avoid
Let’s avoid some common pitfalls. Here are a few mistakes to watch out for when making this tuna melt wrap:
- **Using Too Much Mayonnaise**: Using too much mayonnaise can make the tuna mixture too wet and greasy. Greek yogurt is a healthier and lighter alternative.
- **Not Draining the Tuna Properly**: Not draining the tuna properly can result in a soggy wrap.
- **Overcooking the Wrap**: Overcooking the wrap can make it dry and brittle.
- **Using a Wrap That’s Too Small**: Using a wrap that’s too small can make it difficult to roll and prone to bursting.
Tuna Melt Wrap Variations: Customize Your Creation
The beauty of this recipe is its versatility. Here are a few variations to try:
- **Spicy Tuna Melt Wrap**: Add a pinch of red pepper flakes or a dash of hot sauce to the tuna mixture for a spicy kick.
- **Mediterranean Tuna Melt Wrap**: Add chopped olives, sun-dried tomatoes, and feta cheese to the tuna mixture for a Mediterranean twist.
- **Veggie Tuna Melt Wrap**: Add chopped bell peppers, cucumbers, or spinach to the tuna mixture for added nutrients and flavor.
- **Air Fryer Tuna Melt Wrap**: After wrapping, lightly brush the outside with olive oil and air fry at 375°F (190°C) for 5-7 minutes, flipping halfway through, until golden brown and crispy.
Storage Instructions
Want to make these ahead of time? Here’s how to store your tuna melt wraps:
- **Refrigerate**: You can store assembled, ungrilled tuna melt wraps in the refrigerator for up to 24 hours. Wrap them tightly in plastic wrap or place them in an airtight container to prevent them from drying out.
- **Reheating**: To reheat, grill the wrap in a skillet or grill pan as described in the recipe, or microwave for 1-2 minutes until heated through.
Frequently Asked Questions (FAQ)
Got questions? I’ve got answers!
- **Is tuna high in mercury?** Yes, tuna can contain mercury. Opt for skipjack tuna, which generally has lower mercury levels than albacore. Consuming tuna in moderation is key. You want to check the source and ensure responsible fishing practices.
- **Can I use mayonnaise instead of Greek yogurt?** Yes, you can, but Greek yogurt is a healthier and lighter alternative.
- **Can I make this wrap ahead of time?** Yes, you can assemble the wrap ahead of time and store it in the refrigerator for up to 24 hours.
- **Can I use a different type of cheese?** Absolutely! Feel free to use your favorite type of cheese. Cheddar, provolone, or pepper jack would all be delicious.
Serving Suggestions
Complete your meal with these serving suggestions:
- **Side Salad**: A simple green salad with a light vinaigrette is a perfect complement to the tuna melt wrap.
- **Soup**: Pair the wrap with a cup of tomato soup or vegetable soup for a comforting and satisfying meal.
- **Fruit**: Serve with a side of fresh fruit for a healthy and refreshing addition.
- **Chips or Veggie Sticks**: For a more casual meal, serve with your favorite chips or veggie sticks and dip.
So there you have it – a healthy, delicious, and easy tuna melt wrap recipe that’s perfect for a quick lunch or snack. I love this recipe, and I think you will too! Give it a try and let me know what you think! This tuna melt wrap is a serious upgrade for your body and your taste buds. Enjoy!

Healthy Tuna Melt Wrap Recipe, Easy 10 Minute Lunch
Ingredients
Method
- Drain tuna. Combine tuna, Greek yogurt, mustard, lemon juice, corn, red onion, relish, garlic powder, and pepper. Mix.
- Heat wrap with a damp paper towel in the microwave for 10-20 seconds. Add cheese, then tuna mixture.
- Fold sides and bottom of tortilla toward the middle. Roll the tortilla away from you.
- Heat skillet on medium heat with olive oil. Place wrap seam side down and heat for 3-4 minutes, flip and heat another 2-3 minutes.
Notes