Unlock the Secrets of the Perfect Apple Crisp
Are you ready to elevate your dessert game with a classic that’s both comforting and delicious? This apple crisp recipe combines the sweet and tart flavors of apples with a buttery crumble that will make your taste buds sing. In this comprehensive guide, we’ll explore everything from the best apple varieties to expert tips for achieving that perfect crunchy topping. Get ready to make a dessert that not only satisfies your sweet tooth but also warms your heart!
Why You’ll Love This Recipe
This isn’t just another dessert; it’s a wholesome experience. Here are five compelling reasons to dive into this apple crisp:
- Effortless Preparation: You can whip this up in under an hour, making it perfect for spontaneous gatherings or cozy family dinners.
- Customizable Ingredients: Whether you prefer tart Granny Smiths or sweet Honeycrisps, you can adapt the recipe to your taste.
- Healthier Indulgence: By using whole ingredients and controlling the sugar, you can enjoy a guilt-free dessert that’s still so good.
- Perfect for Any Season: While it shines in the fall, you can enjoy apple crisp year-round by using your favorite fruits.
- Serve It Your Way: Pair it with ice cream, whipped cream, or even yogurt for a delightful twist.
Ingredients You Need
Let’s gather the essentials for this delicious apple crisp. Here’s what you’ll need:
- Apples: I recommend a combination of tart Granny Smith and sweet Honeycrisp for balance.
- Granulated Sugar: Adds sweetness and balances the tartness of the apples.
- Brown Sugar: For a deeper, caramel-like flavor in the crumble topping.
- All-purpose Flour: Essential for the crumble texture.
- Old-fashioned Oats: Adds heartiness and chewiness to the topping.
- Unsalted Butter: For richness and flavor; ensure it’s cold for the right crumble texture.
- Cinnamon: A classic spice that enhances the apple flavor.
- Salt: Just a pinch to balance the sweetness.
- Optional Nuts: Chopped walnuts or pecans can add a nice crunch.
How to Make Homemade Apple Crisp
Now that we have our ingredients, let’s get cooking! Follow these steps for a flawless apple crisp:
- Preheat your oven to 350°F (175°C).
- Peel and slice the apples, then toss them in a bowl with granulated sugar, cinnamon, and a pinch of salt.
- In another bowl, mix the flour, oats, brown sugar, and cold butter until crumbly.
- Spread the apple mixture in a greased baking dish.
- Evenly distribute the crumble topping over the apples.
- Bake for 35-40 minutes or until the topping is golden brown and the apples are bubbling.
- Let it cool for a few minutes before serving.
Pro Tips for the Best Apple Crisp
Here are some expert insights to ensure your apple crisp is a total success:
- Choose the Right Apples: For the best flavor, opt for a mix of tart and sweet apples.
- Don’t Overmix the Topping: Mix until just combined to maintain a crumbly texture.
- Use Cold Butter: This will help create a flaky, tender topping.
- Let the Crisp Rest: Allow it to cool slightly before serving to help it set up.
- Experiment with Spices: Try adding nutmeg or ginger for a unique twist.
- Top with Ice Cream: A scoop of vanilla ice cream takes this dessert to a whole new level.
- Try Different Fruits: Peaches, berries, or even pears can work beautifully in this recipe.
- Check for Doneness: Apples should be tender and topping should be golden brown.
Common Mistakes and Troubleshooting
Even the best chefs can encounter hiccups in the kitchen. Here are some common mistakes and how to avoid them:
- Using Only One Type of Apple: Relying on a single apple variety can result in a bland flavor. Mix it up!
- Not Prepping the Apples: Make sure to slice them evenly for consistent cooking.
- Overbaking: Keep an eye on it to avoid a dry topping—aim for golden brown!
- Skipping the Resting Time: This step is crucial for letting flavors meld and for achieving the right texture.
Delicious Variations to Try
Feel free to get creative! Here are some variations to consider:
- Berry Apple Crisp: Add fresh or frozen berries for a burst of color and flavor.
- Gluten-Free Option: Substitute all-purpose flour with almond flour or gluten-free oats.
- Maple Syrup Sweetener: Use maple syrup instead of sugar for a unique flavor profile.
- Nutty Crumble: Mix in your favorite nuts or seeds for added texture and nutrition.
Storage and Make-Ahead Instructions
Want to enjoy your apple crisp later? Here’s how to store it:
- Room Temperature: Cover and keep at room temperature for up to 2 days.
- Refrigerator: To extend freshness, store in the fridge for 3-5 days.
- Freezer: Apple crisp can be frozen for up to 3 months. Just ensure it’s in an airtight container.
Frequently Asked Questions
Here are some common questions about making apple crisp:
- Can I use frozen apples? Yes, but thaw them and drain excess liquid before using.
- What’s the difference between apple crisp and apple crumble? Apple crisp contains oats in the topping, while crumble typically does not.
- How do I know when my apple crisp is done? The topping should be golden brown, and the apples should be bubbling.
- Can I make it vegan? Absolutely! Substitute butter with coconut oil and use maple syrup instead of sugar.
- What type of apples are best? A mix of tart and sweet apples like Granny Smith and Honeycrisp works best.
- Is it safe to eat leftovers? Yes, as long as it’s stored properly in the fridge.
- How do I reheat apple crisp? Reheat in the oven at 350°F until warmed through, about 15-20 minutes.
- Can I add other fruits? Yes, you can add peaches, pears, or berries for a different flavor.
Nutritional Tips and Dietary Adaptations
Want to make your apple crisp even healthier? Consider these tips:
- Reduce Sugar: You can cut the sugar by using natural sweeteners like stevia or monk fruit.
- Boost Nutrients: Add chia seeds or flaxseeds for added fiber and omega-3s.
- Portion Control: Serve in smaller dishes to manage portions without sacrificing indulgence.
Equipment Recommendations
To achieve the best results, consider using the following kitchen tools:
- Sharp Knife: For even apple slices; a good knife is essential for prep.
- Cutting Board: A sturdy board keeps your workspace organized.
- Mixing Bowls: Use multiple bowls for mixing ingredients separately.
- 9×13 Baking Dish: The ideal size for baking and serving your apple crisp.
Serving Suggestions
This apple crisp is versatile when it comes to serving. Here are some ideas:
- Top with Ice Cream: A scoop of vanilla or caramel ice cream adds a delightful creaminess.
- Drizzle with Honey: A little honey on top enhances sweetness and flavor.
- Serve with Whipped Cream: Elevate your dessert with a dollop of whipped cream.
In conclusion, this apple crisp recipe is not just about satisfying your sweet tooth; it’s about creating lasting memories around the table. With its perfect blend of flavors and textures, it’s bound to become a family favorite. So gather your ingredients, preheat your oven, and let’s unlock the delicious potential of this classic dish!
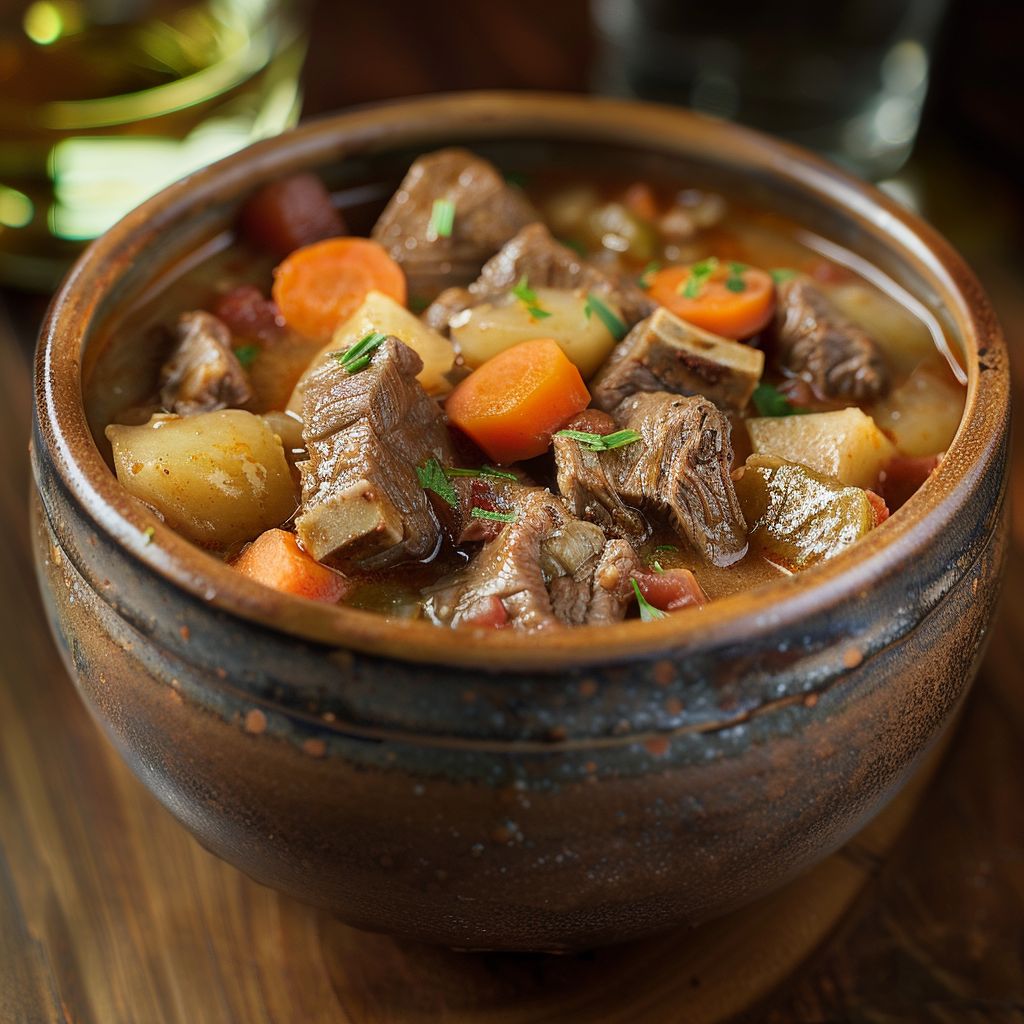

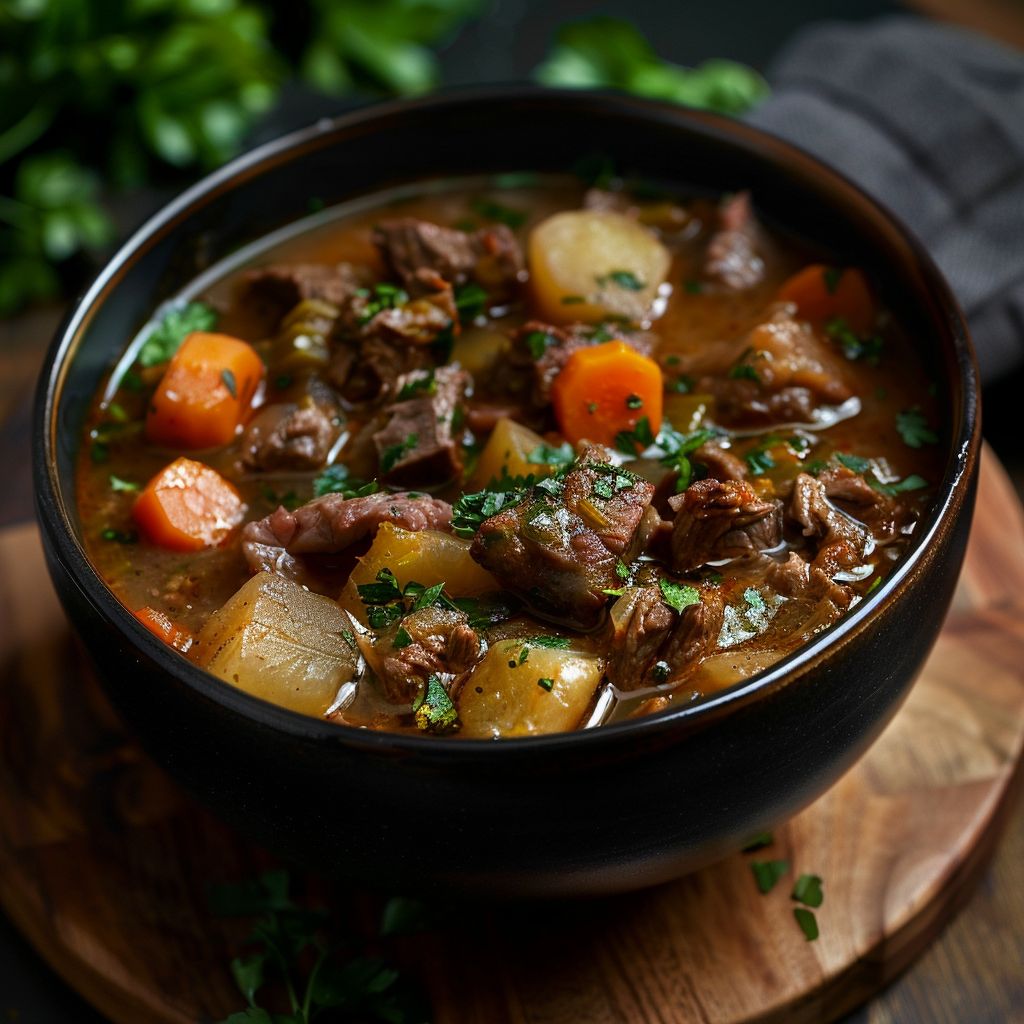
Hearty Beef Stew
Ingredients
Method
- Heat oil in a large Dutch oven over medium-high heat.
- Add beef and cook until browned, about 5 minutes. Then add onion and garlic, cook until translucent.
- Add carrots and potatoes, cook for 5 minutes. Stir in beef broth, tomato paste, and thyme.
- Bring to a boil, then reduce heat to low and simmer, covered, for 2 1/2 hours.
- Season with salt and pepper to taste. Serve hot.
Notes
Loved this recipe? Save it to your favorite Pinterest board so you can easily find it later! ✨