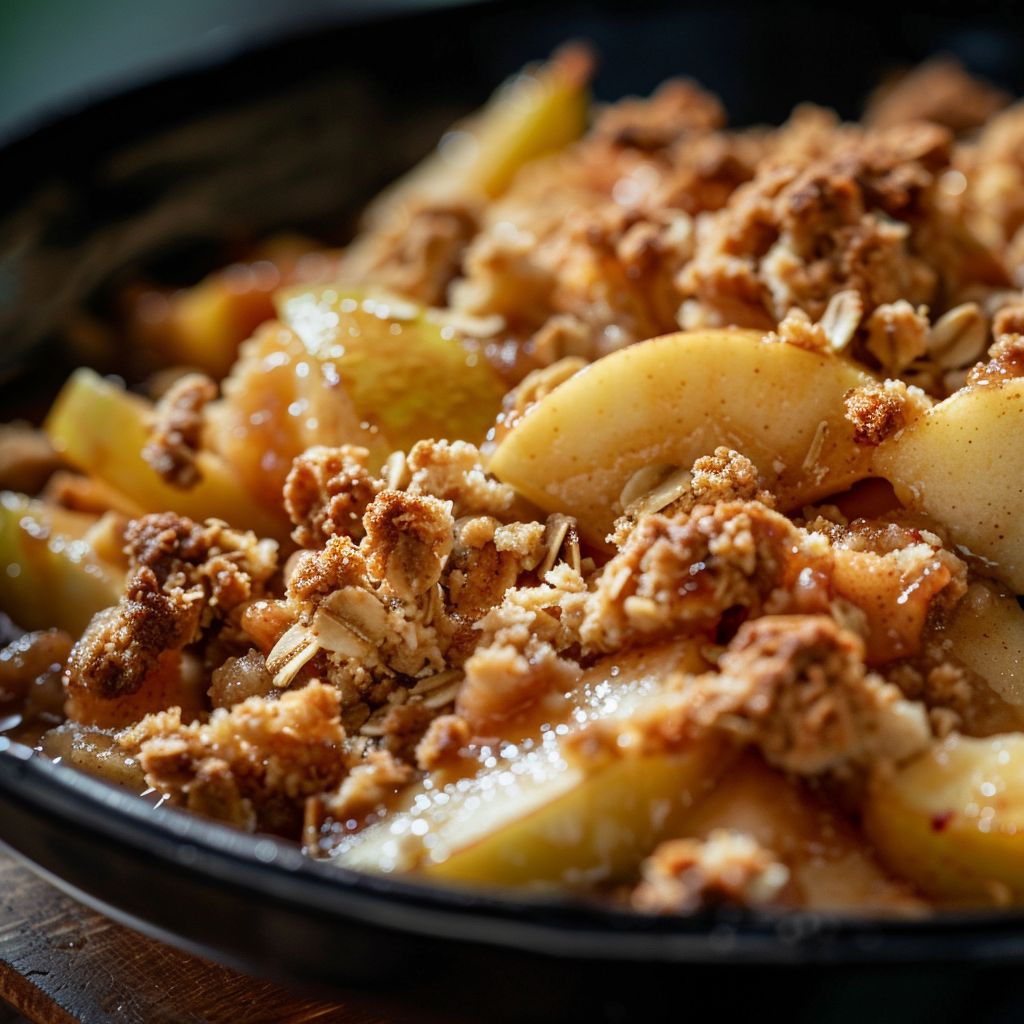
Welcome to the World of Apple Crisp Magic!
Hey there, kitchen adventurers! Are you ready to embark on a delicious journey that transforms simple apples into a cozy, mouthwatering dessert? My Classic Apple Crisp with Buttery Oat Topping is not just a recipe; it’s an experience that will have your taste buds dancing with joy! This easy and delightful dish is perfect for those crisp fall nights when the air is filled with the scent of cinnamon and warm spices. Let’s dive in and discover why this apple crisp recipe will become your new favorite!
Why You’ll Love This Recipe
- Simple Ingredients: With just a handful of pantry staples, you can whip up this comforting dessert in no time!
- Perfect for All Occasions: Whether it’s a family dinner, a potluck, or just a cozy night in, apple crisp fits the bill.
- Customizable: You can easily adjust the sweetness or spice level to suit your taste buds.
- Delicious Warm or Cold: This dessert is tasty no matter how you serve it, especially topped with a scoop of vanilla ice cream!
- Heartwarming Memories: Baking this dish can create lasting memories with family and friends, making it a cherished tradition.
Ingredient Breakdown
Before we roll up our sleeves and get baking, let’s gather our ingredients! Here’s what you’ll need:
- 6 cups sliced apples: Granny Smith or Honeycrisp work wonderfully, but feel free to mix and match!
- 1 cup granulated sugar: Sweetens the apples perfectly; consider brown sugar for a richer flavor.
- 1 teaspoon ground cinnamon: The classic spice that brings warmth and cozy vibes.
- 1 tablespoon lemon juice: Adds brightness and balances the sweetness of the apples.
- 1 cup rolled oats: For that crunchy, buttery oat topping that everyone loves!
- 1 cup all-purpose flour: Creates a delicious base for the topping.
- 1/2 cup brown sugar, packed: For a deeper, caramel-like sweetness.
- 1/2 cup unsalted butter, melted: The magic ingredient that ties the topping together!
- 1/4 teaspoon salt: Enhances all the flavors in your apple crisp.
Step-by-Step Instructions
Ready to create some magic? Here’s how to make this easy apple crisp:
- Preheat your oven: Set it to 350°F (175°C) to get things heating up!
- Prepare the apples: In a large bowl, toss together the sliced apples, granulated sugar, cinnamon, and lemon juice until well coated.
- Transfer to baking dish: Pour the apple mixture into a greased 9×13 inch baking dish, spreading it evenly.
- Make the topping: In another bowl, mix rolled oats, flour, brown sugar, melted butter, and salt until crumbly and combined.
- Assemble: Evenly sprinkle this buttery oat topping over the apples in the baking dish.
- Bake: Place in the preheated oven and bake for 35-40 minutes, or until the apples are tender and the topping is golden brown.
- Cool and serve: Let it cool for a few minutes before serving warm, optionally topped with vanilla ice cream for that extra indulgence!
Pro Tips for Apple Crisp Success
- Choose the right apples: A mix of tart and sweet apples enhances the flavor complexity.
- Don’t skip the lemon juice: It not only adds flavor but also helps prevent the apples from browning too quickly.
- Perfect your topping: Aim for a crumbly texture, avoiding clumps, for the best crisp!
- Adjust sweetness: Taste your apple mixture before baking; feel free to add more sugar if you like it sweeter!
- Experiment with spices: Try adding nutmeg or ginger for an extra zing!
- Let it cool: This dessert tastes even better after a few minutes of cooling; the flavors meld beautifully!
- Make ahead: You can prep this dish ahead of time; just bake it when you need it!
- Use a large dish: Spread the apple mixture and topping evenly in a large baking dish for even baking.
Common Mistakes and Troubleshooting
Even the best bakers can run into hiccups! Here are some common mistakes and how to avoid them:
- Too watery: If your apples are releasing too much juice, consider using less sugar or using firmer apples.
- Burnt topping: If the topping is browning too quickly, cover it with foil in the last 10 minutes of baking.
- Undercooked apples: Ensure you bake long enough; check for tenderness before removing from the oven.
- Too sweet: Balance the sweetness by adding a pinch more salt or a squeeze of lemon juice to the apple mixture.
Delicious Variations
If you’re feeling adventurous, try these fun spins on the classic apple crisp:
- Berry Apple Crisp: Add a cup of fresh or frozen berries for a burst of flavor.
- Nutty Topping: Mix in some chopped nuts (like pecans or walnuts) for an added crunch!
- Maple Apple Crisp: Substitute maple syrup for granulated sugar for a unique twist.
- Gluten-Free Option: Use gluten-free flour and oats to make this dessert suitable for gluten-sensitive friends!
Storage and Make-Ahead Instructions
Got leftovers? Here’s how to store your apple crisp:
- Refrigeration: Keep covered in the fridge for up to 3-4 days. Reheat in the oven or microwave before serving.
- Freezing: You can freeze unbaked apple crisp for up to 3 months. Just bake straight from the freezer, adding a few extra minutes to the baking time.
- Make-Ahead: Prepare the apple mixture and topping separately, then assemble and bake when you’re ready to serve!
Frequently Asked Questions
- Can I use other fruits? Absolutely! Pears, peaches, or a combination can be delicious alternatives.
- What’s the best way to serve apple crisp? Warm, with a scoop of vanilla ice cream or whipped cream on top!
- Can I make this recipe vegan? Yes! Substitute butter with coconut oil and use a plant-based sugar.
- How do I know when it’s done? The crisp is ready when the apples are tender and the topping is golden brown.
- Can I double the recipe? Of course! Just use a larger baking dish and adjust the baking time as necessary.
- What’s the best way to store leftovers? Refrigerate in an airtight container for up to 4 days.
- Is it okay to make this ahead of time? Yes! You can prepare it a day in advance and bake just before serving.
- How do I reheat apple crisp? Reheat in the microwave or oven until warmed through.
Nutrition Tips and Dietary Adaptations
This apple crisp is not only delicious but can also be made healthier with a few tweaks:
- Whole Grain Option: Use whole wheat flour for a more nutritious topping.
- Lower Sugar: Reduce the sugar amount or use a sugar substitute if you’re watching your intake.
- Add Flaxseed: Incorporate ground flaxseed into the topping for added fiber and omega-3s.
- Fruit Fiber: Apples are high in fiber, which is great for digestion!
Essential Equipment for Success
Here’s what you’ll need to nail this apple crisp:
- 9×13 inch baking dish: Perfect for even baking and serving.
- Mixing bowls: For combining your ingredients seamlessly.
- Measuring cups and spoons: Accurate measurements are key to success!
- Sharp knife: For slicing those apples with ease.
Serving Suggestions
To elevate your apple crisp experience, try these serving ideas:
- Top with Ice Cream: A scoop of vanilla or caramel ice cream is a must!
- Whipped Cream: Light, fluffy whipped cream adds a touch of elegance.
- Cinnamon Sugar Dusting: A sprinkle of cinnamon sugar on top just before serving is delightful.
- Pair with Coffee: Enjoy your apple crisp with a warm cup of coffee or cider for a cozy treat.
Conclusion
And there you have it—a delightful journey from mess to magic with my Classic Apple Crisp with Buttery Oat Topping! This easy recipe is packed with flavor, warmth, and all the cozy vibes you need. I hope you give it a try and create some sweet memories in your kitchen. Remember, cooking is all about experimenting, so don’t be afraid to make it your own. Happy baking!
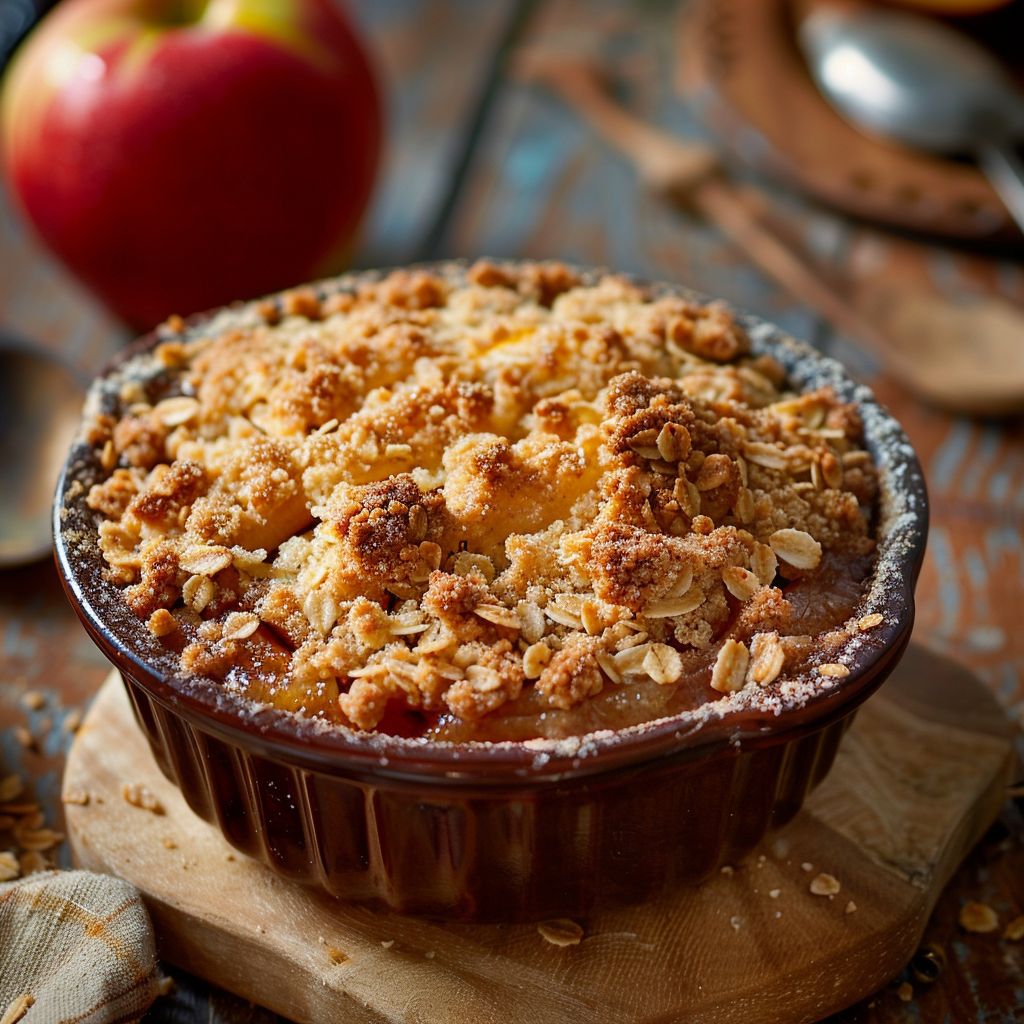

Classic Apple Crisp with Buttery Oat Topping
Ingredients
Method
- Preheat oven to 350°F (175°C).
- Mix sliced apples, sugar, cinnamon, and lemon juice; transfer to a greased baking dish.
- Combine oats, flour, brown sugar, melted butter, and salt to make the topping.
- Sprinkle the oat topping evenly over the apples.
- Bake for 35-40 minutes until golden and apples are tender.
- Let cool slightly before serving. Enjoy warm with optional vanilla ice cream.
Notes
Loved this recipe? Save it to your favorite Pinterest board so you can easily find it later! ✨